It’s a cold February day. A delicate layer of frost edges the corner of each window and mounds of snow smooth over bushes and trees. Birds are huddled under eaves, fluffing their feathers, reminding you that winter is well and truly here. Meanwhile, the kids are hunched behind computer screens, or tapping their feet to the tunes emanating from their hand-held devices. And you’re thinking, “I’ve just got to figure out some way to get the kids outside!”
From TV, computer games, Wiis and Xbox’s, our society has created many enticing reasons for kids not to go outside. Children are easier to monitor when they stay indoors. They are “safer” inside. And, in the age of multi-tasking we can “look after them” while we are busy doing something else and we have the satisfaction of knowing that they are being entertained.
And yet, if we have the fortitude and gumption to get our kids off the couch and into the magic of a winter’s day, we not only provide exercise and fresh air, we help to forge a real and lasting connection between our children and the outdoors. If we give them some winter experiences in nearby fields, forests and green spaces, we’ll help them to recognize, as John Muir once said, that if we “tug at a single thing in nature, we’ll find it connected to the rest of the world.”
So redeem this very wintery day. Grab your hat, mitts, warm boots and winter jacket and don’t forget the kids! Experience the exhilaration of winter while the air is crisp, sharp and clear. The spring thaw will come far too soon!
BUILD A QUINSY OR SNOW FORT
1. When the snow is more than 20 centimeters deep, dig out the recycling containers and find several shovels. Fill up the recycling bins with snow and haul them over to a central location. Mound snow up as high as you can (a big pile about 2 meters high and 4 meters across would be ideal). Make sure your pile slopes gently. Use a shovel to smooth the sides into a symmetrical dome shape.
2. Important tip: You must leave the mound for a minimum of three hours! This will give the snow crystals time to coalesce (bind). Ideally, leave the mound overnight. After the pile has settled, find a series of sticks 30 centimeters long and push them into the mound so that one end is at the surface and the other end is pressed deep into the mound. There should be a stick every meter or so, covering the entire surface of the quinzy.
3. Next, begin hollowing out the mound. Make sure you have snow pants and an insulated jacket with a hood – this can be cold and wet work! Use your shovel and start scooping snow out. Have your children haul the snow away from the entrance. Keep digging until you come across the butt end of one of the sticks which serve as a guide so that you know the walls are of a consistent thickness. When the quinsy is sufficiently hollowed out, use a larger stick or your fist (12 cm in diameter) to poke three or four holes through to the outside (one overhead, the rest along the sides). These holes will serve as ventilation, helping to bring fresh air inside. If I know my children are going to be playing in the quinsy without supervision, I make an extra exit.
4. If you are up for an adventure, insulate the bottom of the quinsy with a tarp, some warm blankets and sleeping pads. If you are dressed well and if there is enough insulation above and below you, you and your children can spend a cozy and unforgettable night in a snow fort of your own creation!
TRACKING & TRAILING
As I am fond of telling my students, every trail has a story to tell and if you are patient enough you can learn to read the writing each footprint makes in the soft snow of winter. As a way to practice reading tracks try this simple activity. If you can, find an area that has fresh snow. Ask your children to stand in a straight line with their back to you. Make sure there is undisturbed snow behind them. As a way to distract everyone and to disguise the noise you make, have them sing a song in unison. Now, right behind your group’s backs, make a tracking pattern. Here are some suggestions:
- JUMP with two feet
- WALK on all fours
- LAY in the snow
- WALK normally, then run
- HOP on one foot
- TURN around and walk backwards
When you have a clear track, have your group pivot in the same spot and study the story you’ve just made. Don’t forget to remind your group that their feet are just like big erasers, able to wipe out your freshly made tracks. Can they tell you what happened? Here are some questions your group can try to answer for any track they encounter. Use your tracking story as a guide.
1. Which way was I going? Examine the scuff marks. Often a small and discernable scuff mark will appear at the rear of a track. While this isn’t a hard and fast rule, it does help to establish the direction of travel.
2. How far apart are my tracks? Most animals have a “harmonic gait”, the normal speed at which they travel. When an animal runs, its stride (or the distance between tracks) increases.
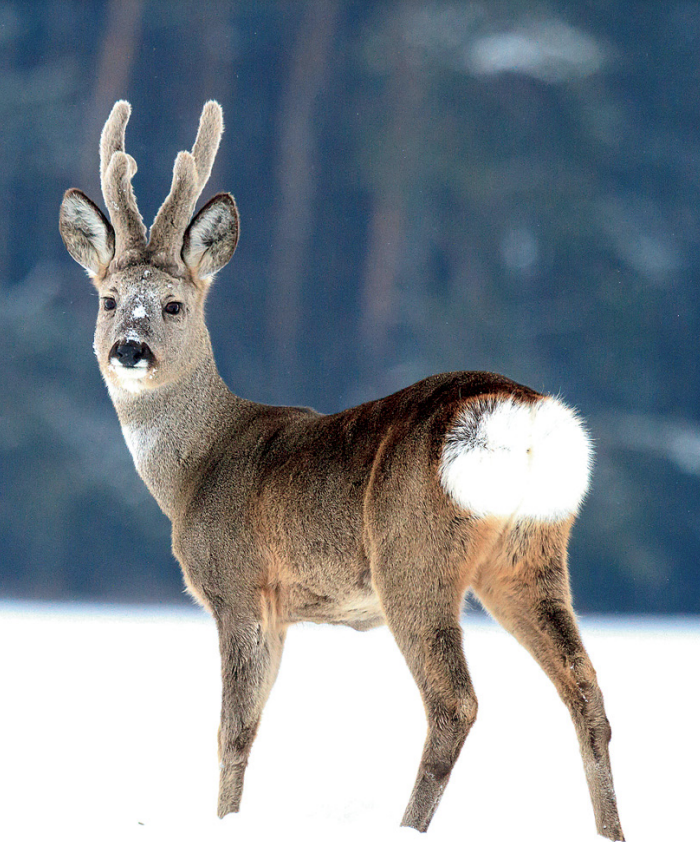
3. What was I doing? During the day, White Tailed Deer will often rest at the side of a hill. Often you can spot the area where it has lain down (called a bed).
4. What pattern do my tracks have? This is often a clue as to what kind of animal it is. For example, rabbits hop with their two back legs beside each other and the front feet landing behind their back feet, one in front of the other. Raccoons often walk with their bigger rear foot beside their smaller front foot. Weasels, mink and members of the mustelid family move in a bounding manner. Deer, fox and coyotes walk in a fairly straight line.
Now, after putting all the clues together, can you read the story of this track? Ask your group if they can tell you, just by looking at your tracks, exactly what you were doing. This activity is an excellent way to begin the art of tracking. Think about ways in which it might help you read other animal tracks.
This educational article was written by our Executive Director, Jacob Rodenburg. Click this link to download it: Download PDF