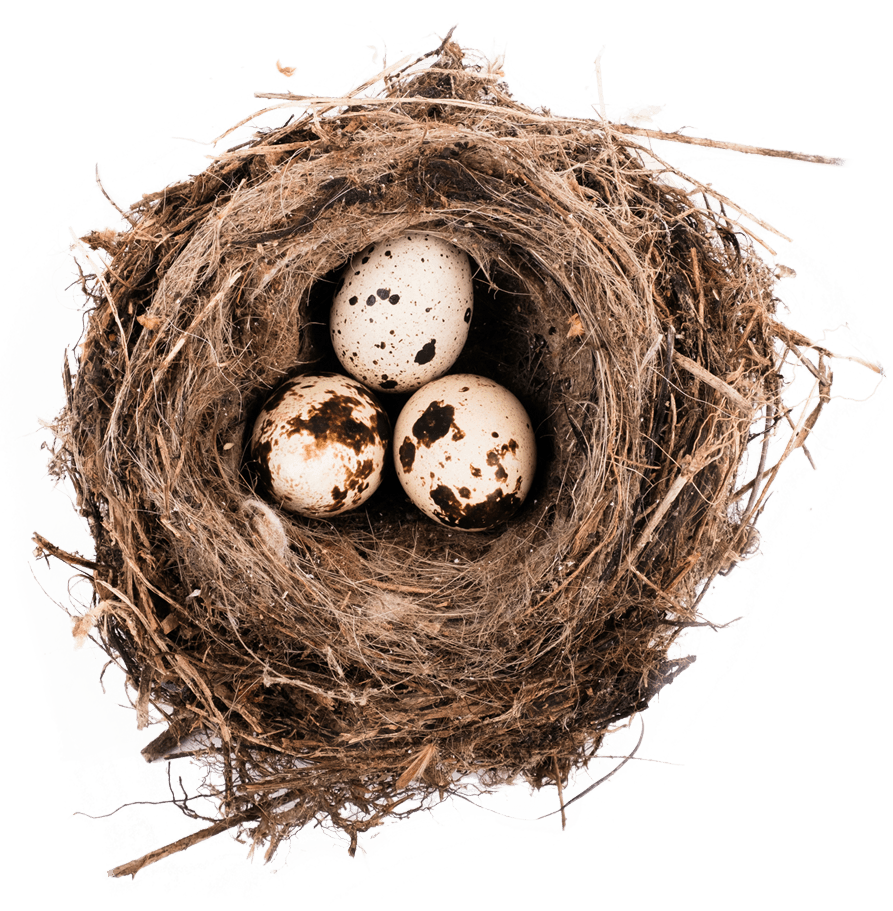
If you think about it, a bird egg is a beautiful thing. Within this fragile, round container is the promise of new, feathered life. And bird eggs come in a surprising variety of shapes, sizes, and colours. But no matter what they look like, one obvious but indisputable fact deserves mention: eggs roll. And a rolling egg is not a safe egg. Keeping their eggs both warm and safe is the challenge every mother bird faces. That is why she makes a nest. Sometimes a bird nest is an elaborate affair like the woven, hanging nest of a Northern Oriole, or sometimes it is as simple as a hollow scrape in the ground like that of a Killdeer.
At first blush, making a bird’s nest doesn’t seem that remarkable. But if you think about it, birds do have a handicap when it comes to building something. They don’t have hands! So they need to use their beaks and feet. Imagine making a nest using only your mouth and toes. And yet the nests that birds – such as warblers, orioles and finches – create from a few bits of grass, bark, twigs, and mud are truly wondrous examples of natural architecture. It is worthwhile to remind ourselves that humans aren’t the only builders on this planet!
Here are some different types of nests:

What You’ll Need:
- Lots of dried plant fibres (soft dried grass & wildflowers)
- Warm Soapy Water
- Nice gooey mud (you can mix soil and water)
- Patience!
- Bucket
- Begin by making a mud and plant fibre pancake – or a round, flat disk of mud and plants. Scrunch the fibers together with globs of mud. Mix, knead, and mix again. You should have a pancake about 6 inches (18 cm) in diameter and about ½ inch (1 cm) thick.
- Make 4 long fibre and mud cylinders, about 4 inches long and ¾ inch thick. Roll, mix, and roll again.
- Using mud, stick these mud cigars to the perimeter of the pancake. Knead them all together using plenty of mud. Knead and knead some more until everything binds together.
- Sculpt the sides by squeezing, pressing, and adding more mud as required.
- Line with soft grasses, tufts of downy seeds. Let dry.
- Place your nest on something sturdy and watch what happens. You never know – a robin may adopt this nest as their very own!
You can also try to find out what human-made materials birds like for their nests. In early spring, cut 6 inch and 9 inch pieces of four different colours of yarn, string, and cloth (narrow strips). Put some on the ground close to a window and stick the rest between the scales of pine cones – just loose enough so birds can easily pull the pieces out. Add some hair from a hairbrush. Using string, suspend the cones outside the window. Keep track of what materials and colours the birds prefer.
Download PDF VersionConsider participating in NestWatch, a nationwide monitoring program designed to track the reproductive biology of birds, including when nesting occurs, number of eggs laid, how many eggs hatch, and how many hatchlings survive. This data is used to study the current condition of breeding bird populations and how they may be changing over time. The NestWatch website also has a great deal of information on bird boxes. www.nestwatch.org

